Level Up Your Look: How 3D Printing is Revolutionizing Cosplay
Cosplay—the art of costume play—has always been a labor of love, demanding countless hours of crafting, sewing, and detailing. But a quiet revolution has been brewing in the maker community, and it’s all thanks to one powerful tool: the 3D printer.
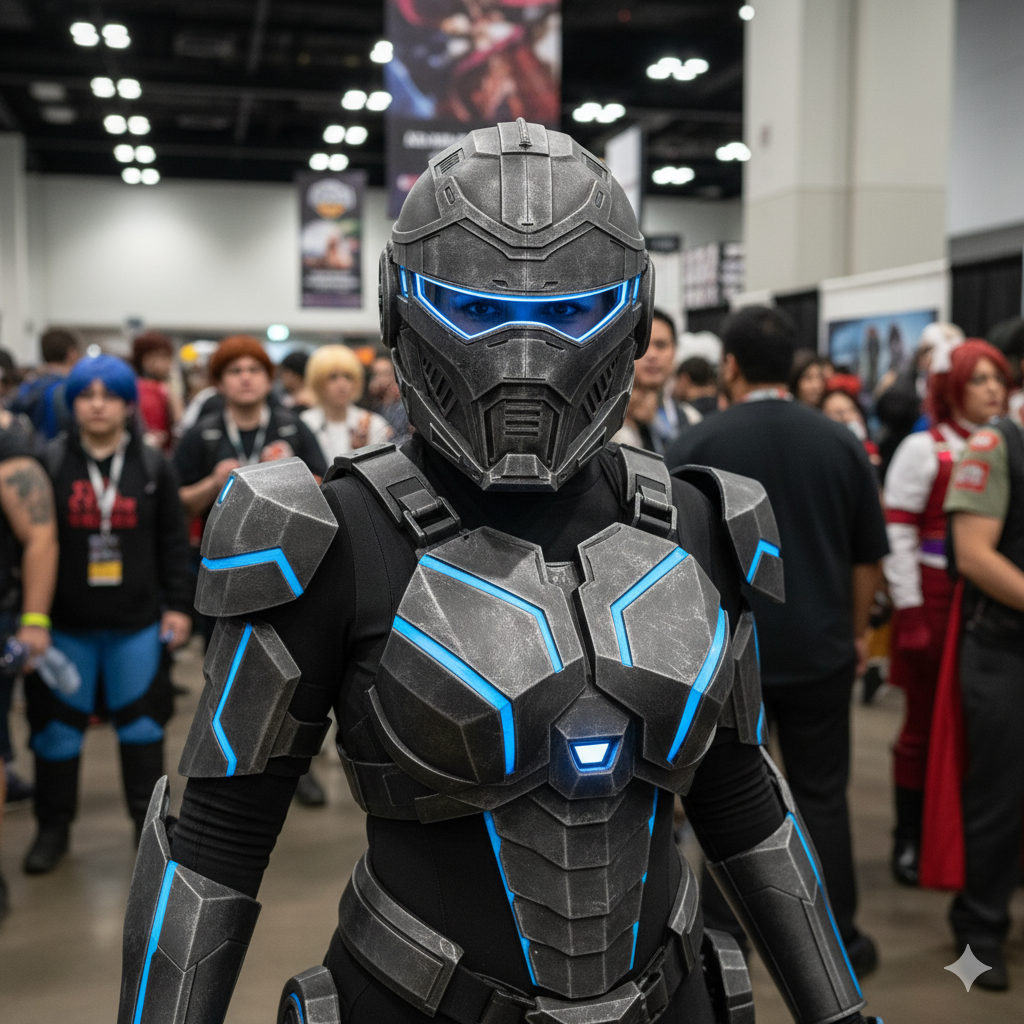
If you’ve ever dreamed of wielding Thor’s hammer, sporting a perfectly detailed Stormtrooper helmet, or crafting intricate, glowing accessories, 3D printing is your new best friend. It has become an essential part of the modern cosplayer’s arsenal, transforming impossible designs into tangible, accurate, and wearable masterpieces.
Why 3D Printing is a Cosplayer’s Superpower
Forget spending weeks trying to sculpt an organic shape or cut identical, complex details out of foam. 3D printing offers a level of precision and customizability that traditional methods simply can’t match.
Here are the top benefits that have cemented 3D printing’s place in the cosplay world:
- Unmatched Precision and Detail: Fantasy armor, sci-fi weapons, and elaborate jewelry from games and comics often feature stunning, highly complex details. A 3D printer can replicate these intricate engravings, mechanical components, and perfect curves with absolute fidelity, right down to the millimeter.
- Custom Fit for Maximum Comfort: No more ill-fitting helmets or armor. You can scale and adjust a digital model to perfectly match your body measurements, resulting in a custom-fitted piece that is both accurate and comfortable to wear all day at a convention.
- Lightweight and Durable Props: Depending on the material and print settings (like infill), you can create pieces that are significantly lighter than their traditionally crafted counterparts, making that massive sword or bulky armor suit much easier to carry. Filaments like PLA and ABS offer good durability, while TPU is great for flexible parts like straps or soft armor accents.
- Replicability and Repair: Broke a small piece of your prop just before a con? If you have the original 3D file, re-printing the broken component is a quick fix, saving you from a last-minute crafting emergency.
Getting Started: The Cosplay 3D Printing Workflow
Ready to dive in? Here is the basic journey of turning a digital design into a real-life prop:
1. Find or Create the Model
- Download: The easiest starting point is to find a pre-made model. Websites like Cults, Printables, and Thingiverse host vast libraries of free and paid STL files (the standard file type for 3D printing) for popular props, helmets, and armor sets.
- Design: For the truly custom build, you’ll need to learn 3D modeling. Free software like Blender or more technical programs like Fusion 360 are excellent tools for creating unique pieces or modifying existing ones.
2. Slice and Print
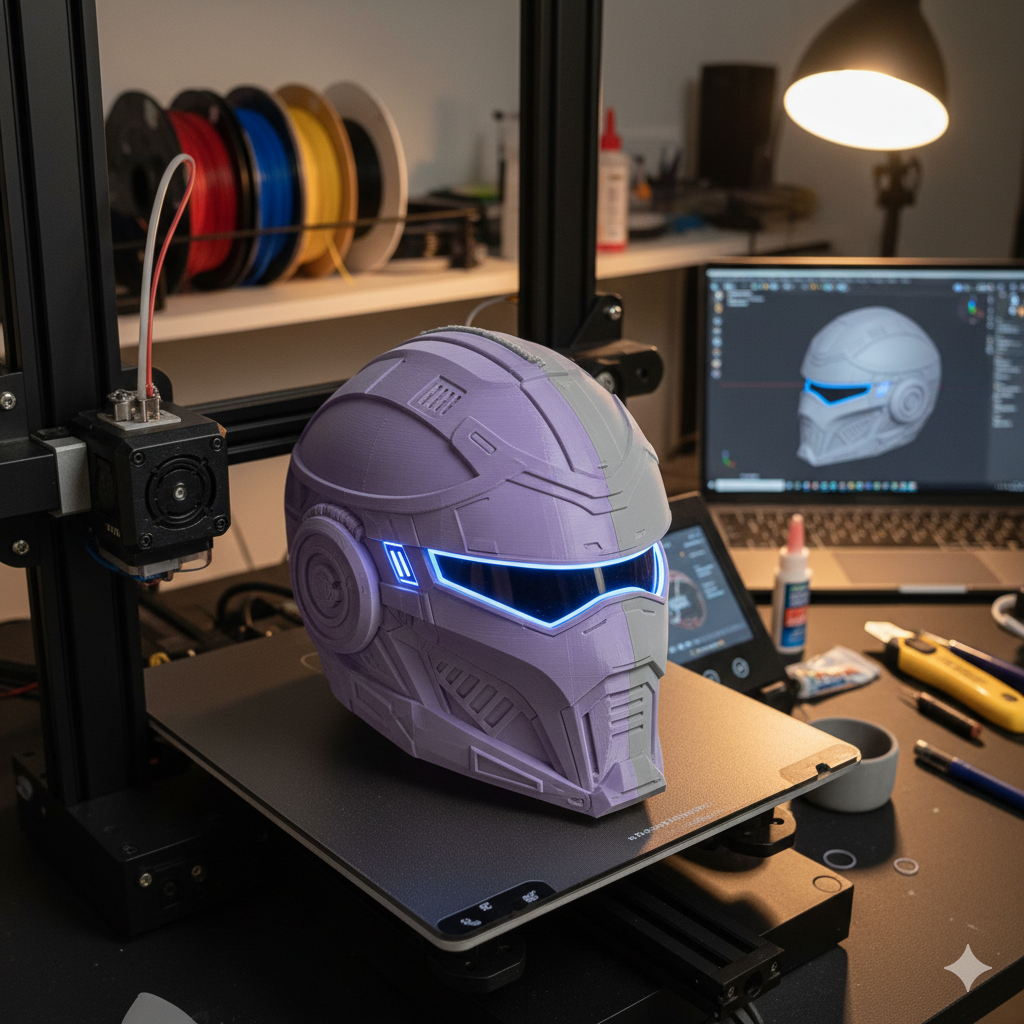
- Slicing: Your 3D printer can’t read an STL file directly. You must use a slicing program (like Cura or PrusaSlicer) to turn the 3D model into G-code, which is the set of instructions your printer follows layer-by-layer.
- Printing: Most cosplayers use FDM (Fused Deposition Modeling) printers for larger items like armor and helmets, which use melted filament. For very small, highly detailed pieces like jewelry or insignias, an SLA (Stereolithography) resin printer offers a finer finish. If your prop is too large for your print bed, you’ll need to use your slicing software to break the model into smaller, manageable pieces that can be assembled later.
3. Post-Processing: Where the Magic Happens
The print is only half the battle. To achieve a smooth, professional finish, you need to dedicate time to post-processing:
- Assembly & Gluing: Glue your separate printed parts together. Super glue and specialized plastic solvents work well for many common filaments.
- Sanding & Filling: This is the most labor-intensive step. You’ll need to sand down the visible layer lines (the tiny ridges from the printing process). For large gaps or stubborn lines, use a filler material like Bondo or a two-part epoxy putty, and then sand again—starting with a coarse grit (like 120) and moving to a fine grit (up to 3000) for a glass-smooth surface.
- Priming & Painting: Apply a filler-primer spray to check for any imperfections you missed. Once smooth, your prop is ready for paint. Whether you’re aiming for a weathered, post-apocalyptic metal look or a brightly polished jewel, painting is what brings the prop to life.
Beyond the Basics: Hybrid Builds and Advanced Techniques
The best cosplayers often combine traditional craft with 3D printing. Hybrid armor uses EVA foam for the large, underlying structure (offering flexibility and lightness) and then incorporates 3D printed components for the sharp, intricate details like vents, bolts, or insignias.
3D printing isn’t just a tool; it’s a doorway to a new dimension of cosplay creation. By embracing this technology, you can push the boundaries of accuracy and detail, transforming from a fan with a dream to a creator with a masterpiece.
Are you a veteran 3D printing cosplayer? Share your favorite build tips or your most challenging project in the comments below!